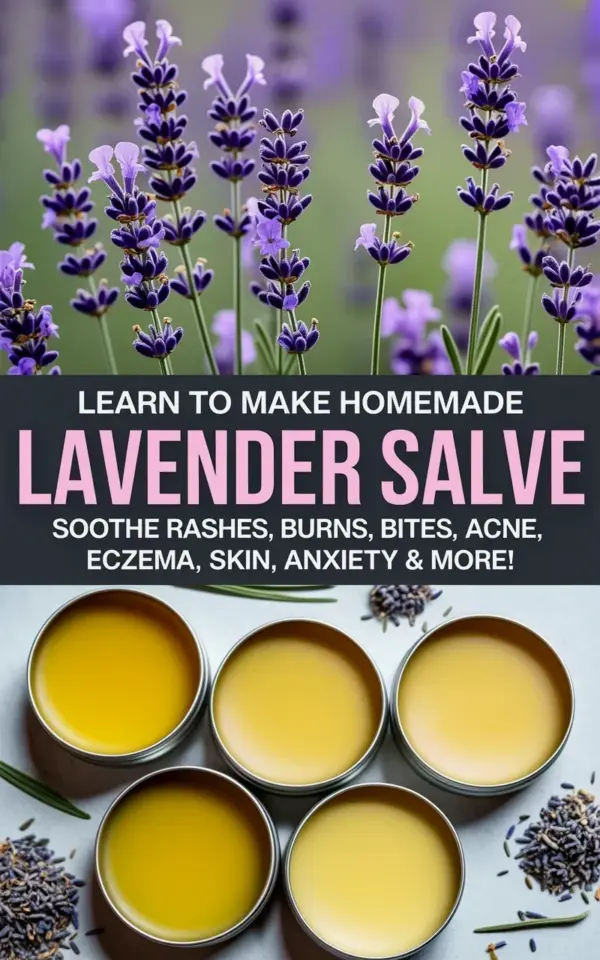
Five tins, all filled with that same glowing, sunlit yellow salve, sit in a perfect circle on a light gray table. Fresh purple lavender stems rest between them, still holding their summer scent. That’s the image that started my latest batch, and honestly, it’s the exact scene that convinced me homemade lavender salve is the summer DIY I keep coming back to. If you’re looking for a project that actually finishes in one afternoon, this is it.
The photo you see at the top of this post tells the whole story, the top half showing lavender in full bloom against a soft green blur, the bottom half showing those five little metal tins ready for action. It’s a simple visual, but it captures everything I love about making salve: the freshness of the flowers, the satisfaction of filling those tins, and the quiet moment where it all comes together. This batch uses fresh purple lavender, not dried, which makes the whole process feel more like a summer ritual and less like a chore.
Why Fresh Purple Lavender Makes the Best Summer DIY
There’s something about using fresh lavender that changes the entire experience. The moment you run your fingers down the stem, the essential oils coat your skin, and the smell is so intense it almost feels like cheating. Dried lavender works fine, but fresh purple lavender carries a brighter, greener note that I can’t quite replicate with store-bought herbs. Plus, you get to spend an afternoon outside, snipping stems and pretending you’re a proper herbalist.
Your oil infusion will also pick up more of the plant’s natural color when you start with fresh flowers. The salve in those tins in the photo, the one with that light yellow glow, comes from olive oil and beeswax doing their thing. The fresh lavender infuses the oil with a subtle green tint that deepens the final color. It’s not a dramatic change, but it’s enough to make your homemade lavender salve feel special.
The Basic Recipe for Homemade Lavender Salve in Small Batches
Let’s talk measurements, because this is where people get nervous. For five small metal tins, which is exactly what I used in these photos, you need about half a cup of lavender-infused oil, two tablespoons of grated beeswax, and a drop or two of vitamin E oil. That’s seriously it.
Start by infusing your oil. Pack a clean glass jar with fresh purple lavender buds, pour a light oil like jojoba or sweet almond over the top, and let it sit in a sunny window for three to four days. Shake it once or twice a day. Strain through cheesecloth, then melt the oil with beeswax in a double boiler. Pour the mixture into your tins and let them set undisturbed for a few hours until the top turns from glossy to matte.
Here’s the thing about this recipe: it’s forgiving. Too soft? Melt it down and add a little more wax. Too hard? Add a splash of oil and remelt. You can’t ruin it, and that’s exactly why the homemade lavender salve route is the best summer DIY for beginners.
Why Metal Tins Are the Right Choice for This Salve
Those five round metal tins in the bottom half of the photo are not just cute, they’re actually the smartest container for this project. Glass jars are heavy and breakable, and plastic tubes are annoying to fill. Metal tins, on the other hand, slide easily into a pocket or a purse, and they look so much more appealing sitting on a shelf.
I also like that metal tins don’t let any light in, which means your salve stays fresher for longer. The lavender oil, beeswax, and optional essential oil blends will stay potent for months as long as they’re kept in a cool, dark place. And when you’re making a batch for gifts, those little tins are ready for a label and a ribbon in about thirty seconds.
Three Essential Oil Blends to Customize Your Salve
Standing at my kitchen counter, I always feel like I’m mixing perfumes when I get to this step. The base recipe is perfect on its own, but adding essential oils takes your lavender DIY from basic to memorable. Here are a few blends I rotate through depending on who’s getting the tin.
– The Calm One: 5 drops lavender + 3 drops chamomile + 2 drops bergamot. This one smells like a fancy spa and is practically a sedative in a tin.
– The Fix-It Balm: 4 drops lavender + 3 drops tea tree + 1 drop eucalyptus. Great for summer bug bites and rough patches of skin.
– The Sunshine Blend: 6 drops sweet orange + 2 drops lavender + a drop of vanilla extract if you’re feeling wild.
That’s it. You just stir them in right before you pour the melted mixture into the tins. A quick note: don’t go overboard. More is not better with essential oils, and you’ll end up with a salve that stings your eyes instead of soothing your skin.
Using This Lavender DIY as a Gifting Station
The first time I made this, I kept all five tins for myself, no shame. But the second batch, the one that matches the photo with the dried lavender pieces scattered around, the tins became a little gift-making factory on my kitchen table. I bought a pack of round adhesive labels, wrote “Summer Skin Salve” in a messy cursive, and stuck them on the lids.
The best part is that this homemade lavender salve is a gift that doesn’t look homemade in a cheap way. The metal tins look polished, the yellow salve looks like honey, and the lavender sprigs you tuck into the ribbon add that extra touch. Wrap a few tins in a cloth napkin, tie them with twine, and you’ve got a hostess gift that doesn’t scream “I bought this at a drugstore.” I’ve given these to neighbors, my kid’s teachers, and honestly, to people I mildly disliked at the time because I’m petty like that.
Troubleshooting Your First Batch of DIY Salve
Look, the first time I tried to make lavender salve, I used too much beeswax and ended up with a product that felt like a candle. It was still useful, but rubbing a candle stub onto your arms is not exactly elegant. Here’s how to fix common issues so your first attempt goes smoother than mine.
– If your salve is too hard: it will pull away from the sides of the tin. Remelt it and add a teaspoon of oil at a time.
– If your salve is too oily: it looks liquid at room temperature. Remelt and add a little grated beeswax, about a teaspoon at a time.
– If it smells weak: your infusion wasn’t strong enough. Let the next batch infuse longer, maybe a full week.
– If little bits of lavender are floating around: that’s actually fine, but if it bugs you, strain through a finer cloth next time.
One more tip: don’t use extra virgin olive oil if you can avoid it. The flavor is delicious on bread but it can overpower the lavender and make the salve smell a little salad-y. Use a neutral oil like grapeseed or apricot kernel oil instead. It’s a small change, but it makes a big difference in how fresh your final product smells.
A Final Thought on Summertime and Lavender Salve
Summer makes everything a little slower, and this project matches that pace perfectly. You’re not rushing, you’re not following a complicated schedule, you’re just soaking lavender in oil and waiting for the sun to do its work. That’s the real appeal of this lavender DIY, it asks for minimal effort and rewards you with something useful.
Make a batch, slide a tin into your bag, and use it on your cuticles, your dry elbows, or the mosquito bites that always find you at dusk. The light yellow salve in those metal tins will be gone before you know it, which just means it’s time to make another one. Want the recipe written out in full, with exact measurements and a printable version? Go check out the full post and pin that image for later.
Leave a Comment